Installation Guides
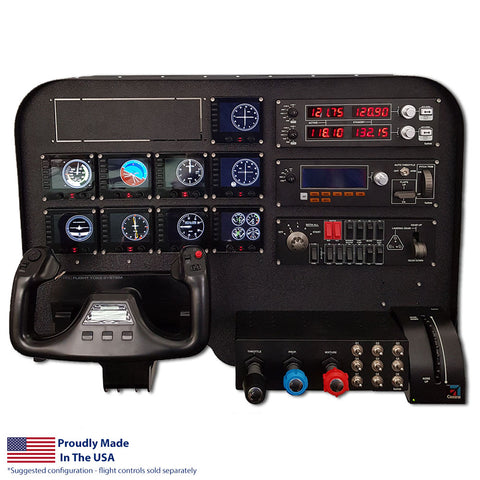
Pro Series Model 4 Setup and Installation Instructions
FV11 Setup and Installation Instructions
FV22 Perspective Panel Installation Instructions
General panel installation instructions are below
| Step 1 - Affix panel to tabletop | |
 |
Place the panel on a table or desk and use the supplied C-clamp to secure the panel to the tabletop using the included right-hand clamp-mount. Leave the four front-facing mounting screws loose for now. NOTE: if you're installing the Mid or Low Profile panels, you'll need to repeat this step for the left-hand clamp mount. |
| Step 2 - Install yoke into panel | |
|
|
Remove the 6 screws on the top of the yoke then slide the yoke through the panel. Use the same screws to firmly attach the yoke to the panel bracket. Leave the three front-facing mounting screws loose for now.
|


| Step 3 - Affix yoke to tabletop | |
 |
Install the main yoke bracket and secure tightly.
|
Step 4 - Install instruments and mount throttle quadrant/TPM/trim wheel |
|
 |
Snap out panel blanks for each instrument you intend to use in your current setup. Think this out ahead of time, once you snap them out, they're not going back in place! Once you snap out the blanks, you may need to trim excess material from the hole to ensure a proper fit for your instruments. If necessary, a simple box cutter does this job nicely. The throttle quadrant, TPM, and trim wheel all flush-mount to the front of the panel. In the case of the TPM, we recommend that you utilize at least one of the Saitek clamps on the back side of the panel directly behind the TPM. Just screw through the clamp and panel into the back side of the TPM. |
Step 5 - Tighten all brackets and hardware |
|
 |
Once you have installed and tightened down all of your instruments, tighten the screws holding the yoke and mounting bracket from steps #1 and #2 above. For maximum stability, you will want to ensure a snug fit between the tabletop and the panel supports to the right and left rear of the panel. |
Step 6 - You're done, now get your checklists done and get in the air! |
|
 |
Once you have installed and tightened down all of your instruments, tighten the screws holding the yoke and mounting bracket from steps #1 and #2 above. For maximum stability, you will want to ensure a snug fit between the tabletop and the panel supports to the right and left rear of the panel. |
Alternate Install Using Saitek/Logitech Clamp |
|
|
|
While our flight panel comes with right-hand (and in some cases, a left-hand) bracket and clamp, you may be one of the many folks who will have an extra Saitek clamp on hand. If you prefer, you can use the Saitek clamp instead of the one we supply. Simply remove our clamp mount as seen in step #1 above, then mount the Saitek clamp using the holes we've pre-engineered for this purpose as seen in the pictures to the left.
|

